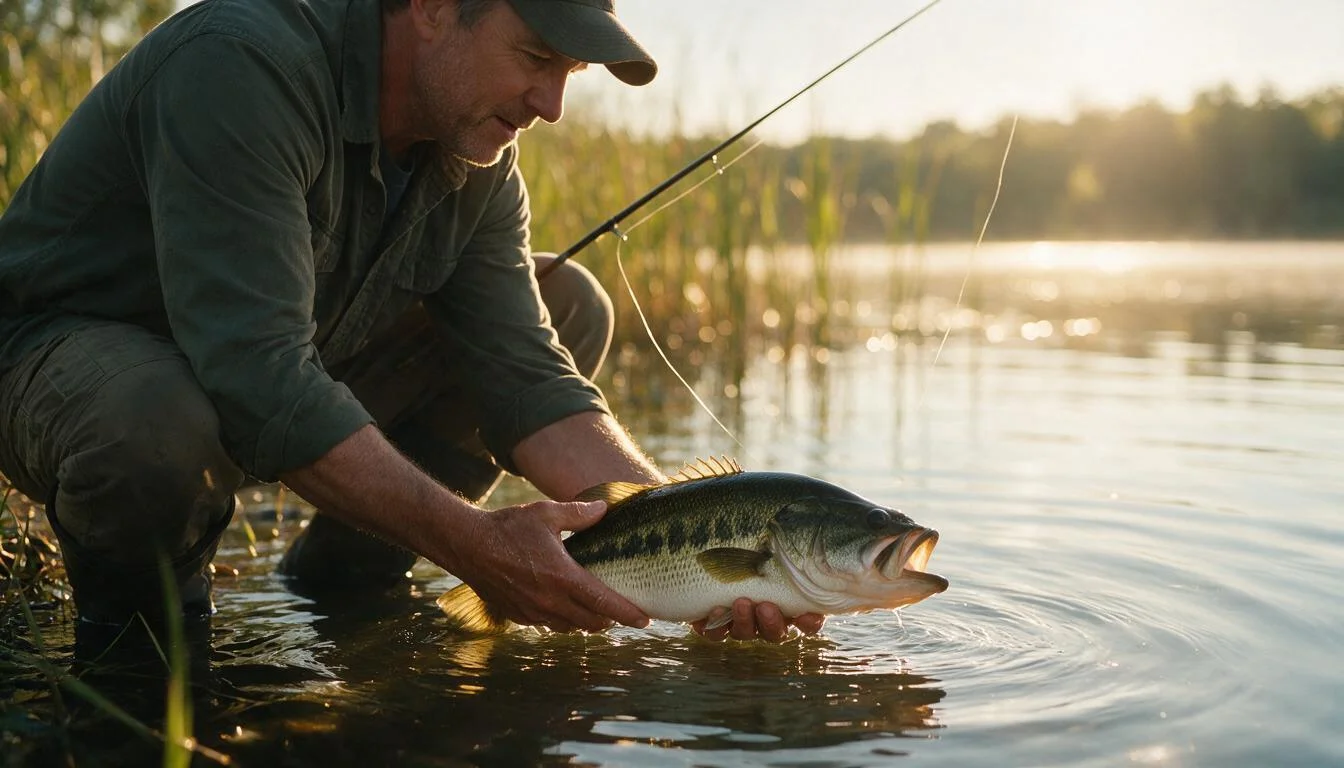
Catch and Release Best Practices: How to Handle a Fish So It Lives
Most released fish that die were not killed by the hook. They were killed by how they were handled in the sixty seconds around landing and release. Dry hands, a hard squeeze, a long photo session, a rough yank on a deep-set hook — each one quietly drops a fish’s odds of surviving.
Catch and release best practices are really fish handling best practices: the grips, tools, and timing that keep a fish’s slime coat intact and its stress low.
If you are new to releasing fish, start with our beginner’s catch and release guide first, then come back here for the handling playbook that separates fish that swim away from fish that float up.
Why Fish Handling Decides Survival
When a fish is hooked, fought, and handled, its body floods with stress hormones and its muscles fill with lactic acid — exactly like a sprinter at the end of a hard race. A fish in that state is running on its last reserves.
What it needs next is oxygenated water moving over its gills, and a handler who does not make things worse.
The single biggest avoidable killer is the slime coat. Every fish wears a thin mucus layer that blocks bacteria, parasites, and infection — and dry hands, a dry towel, a nylon net, or a dusty bank wipes it off in one careless second.
Once that layer is gone, the fish is an open wound swimming in its own pathogens. It often dies days later, long after the angler is home and sure the release went fine.
Air is the second killer: gills are built for water, and out of water the delicate filaments collapse while the fish still looks fine. The rule is under 30 seconds of air, less in summer heat.
Exhaustion is the third — a fish fought to collapse on tackle too light for it cannot swim away from a predator or recover, no matter how gently you hold it.
That is why handling is not the polite extra step. For most released fish, it is the difference between life and death.
The Golden Rules of Safe Fish Handling
Safe fish handling comes down to five free habits:
- Wet your hands before touching the fish. This is non-negotiable. Wet hands slide over the slime coat; dry hands strip it.
- Keep the fish in the water. Unhook it submerged; lift it out only for a quick photo.
- Support its weight horizontally. A big fish dangled by the jaw or tail hangs its entire internal organ mass from one anchor point. Two hands, under the belly, always.
- Never grab the gills or squeeze the body. The gills are breathing organs — a grip on them is a grip on the throat. And a hard squeeze bruises muscle and organs from the inside.
- Work fast, then let go. Every extra minute in the air or in your hands cuts the odds. Hook out, photo if you must, fish back in.
These rules are the foundation. What changes from there is the grip — because not every fish is held the same way.
How to Handle Fish by Species
The right grip depends on the fish’s mouth, teeth, and fins. Here is the species-by-species quick reference:
| Species | Safe grip | Watch out for |
|---|---|---|
| Bass (largemouth, smallmouth) | Lower lip grip with a thumb inside the jaw; support the belly of anything over 3-4 lb | Jaw-dangling a heavy bass puts its organs under stress — always add the second hand |
| Trout | Cradle with two wet hands, fingers spread, whole body supported | The most fragile slime coat of any common game fish; trout are easy to drop and easy to squeeze to death |
| Pike and muskie | Jaw spreader, or a firm grip behind the gill plates | Rows of sharp teeth; long pliers or a hook cutter are mandatory for hook removal |
| Walleye | Lower lip grip or a two-hand cradle | Sharp teeth — never put fingers in the mouth |
| Catfish | One hand firmly behind the dorsal spine, or a lip grip; gloves help | The dorsal and pectoral spines lock upright and can sting painfully; hold behind them, never squeeze the body |
| Panfish (bluegill, crappie, perch) | Hold by the body, one hand, no squeezing | Small but stiff dorsal spines; a light grip just behind the head works best |
Bass take a thumb-in-mouth lip grip so naturally that it feels like the fish was designed for it. The catch is the weight: a 2-pound bass hangs fine from the jaw, but a 6-pound bass needs the second hand under its belly, even for a two-second photo.
Trout are the opposite problem — no teeth, no spines, just a coat of slime so fragile that the correct hold is a gentle two-hand cradle with wet hands.
For toothy fish like pike and muskie, never reach toward the mouth bare-handed. A jaw spreader holds the mouth open safely while you work the hook; our how to catch northern pike guide covers the full gear list for fishing them.
Catfish deserve their own warning: when a channel cat is agitated, the dorsal and pectoral spines lock into a rigid cross, and a careless grip squeezes them straight into your palm. Hold the fish from behind the spines, or use a lip grip — gloves turn the slime factor into a non-issue.
See how to catch channel catfish for the rigs that put you in this situation.
Hook Removal: Do It Right or Leave It Alone
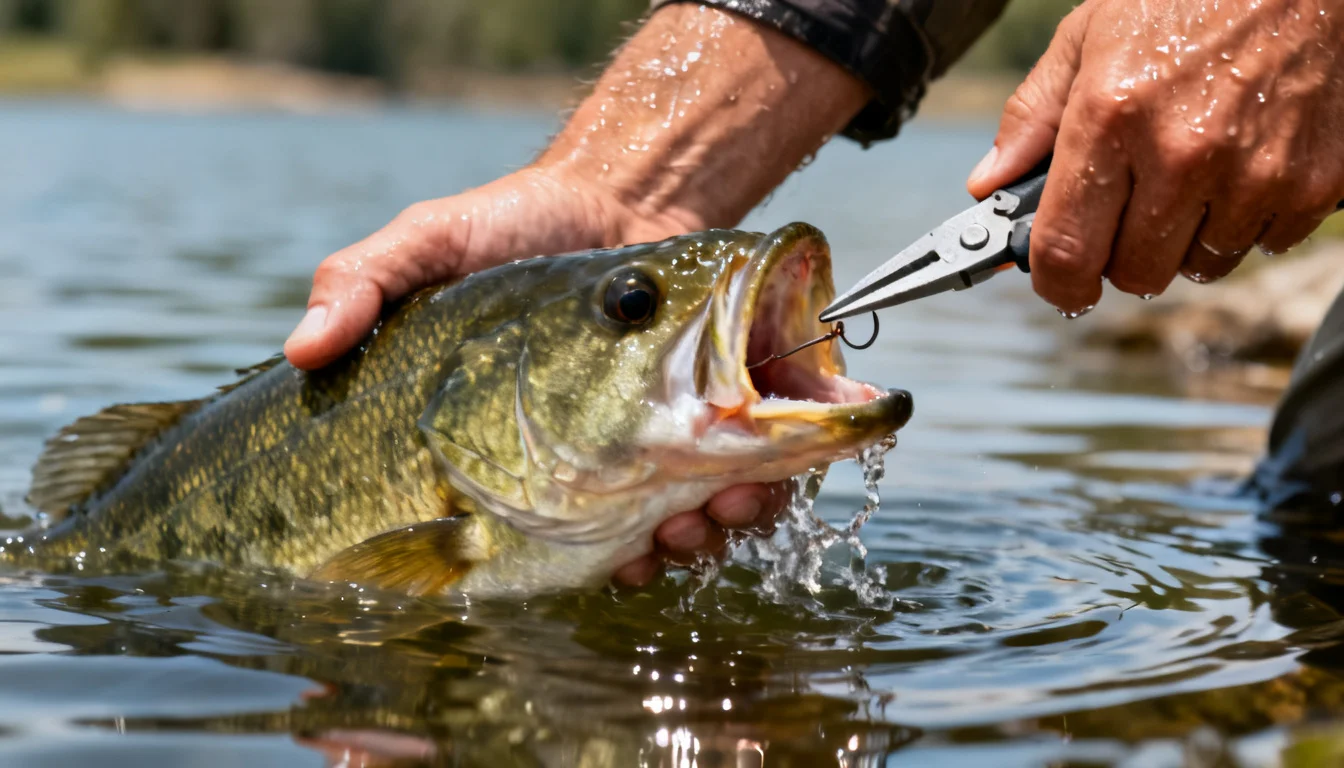
Catch and release tips often obsess over unhooking speed, but accuracy matters more. The three hook positions need three different responses:
Lip-hooked. The best-case scenario. Back the hook out the way it went in, rotating it gently with needle-nose pliers or a dehooking tool. No tearing, no drama.
Treble-hooked lure. If a fish takes a lure with multiple hooks, the spare hooks can catch its head, fins, or the net while you work. Keep pressure on the lure so the hooks stay put, remove the fish from the net carefully, and free the visible hooks first. Pinching the barbs down on your trebles beforehand, or swapping them for single barbless hooks, turns a five-minute tangle into a ten-second release.
Deep-hooked. If the hook is past the throat or into the stomach, do not dig for it. Cut the line as close to the hook as you can and leave the hook in place. The metal corrodes or works its way out over time, and many of these fish survive — cutting the line beats the near-certain death of ripping it out.
A hook remover makes every version easier: it slides down the line, locks onto the shank, and pushes the point back out of the flesh. It is the cheapest survival upgrade in the tackle box.
Release Gear That Protects the Slime Coat
The right equipment does most of the handling work for you:
- Rubber landing net. Rubber or fine-mesh coated netting is far gentler on the slime coat than nylon. Nylon scrapes; rubber slides. If you buy one piece of release gear, make it this.
- Unhooking mat. A soft mat keeps a fish off the hot deck for photos and hook removal. Wet it first — a dry mat is still a dry surface.
- Jaw spreader. Cheap, small, and essential for pike and muskie. Holds the mouth open so you never go near the teeth.
- Lip grip. Clamps the lower jaw without touching the slime coat. Handy for catfish and heavy bass, though a wet two-hand cradle is still better for photos.
- Gloves. A thin wet glove helps with slimy or spiny fish and keeps your hands wet at the same time.
- Descending device. Saves deep-water fish that no amount of surface handling can — more in the revival section.
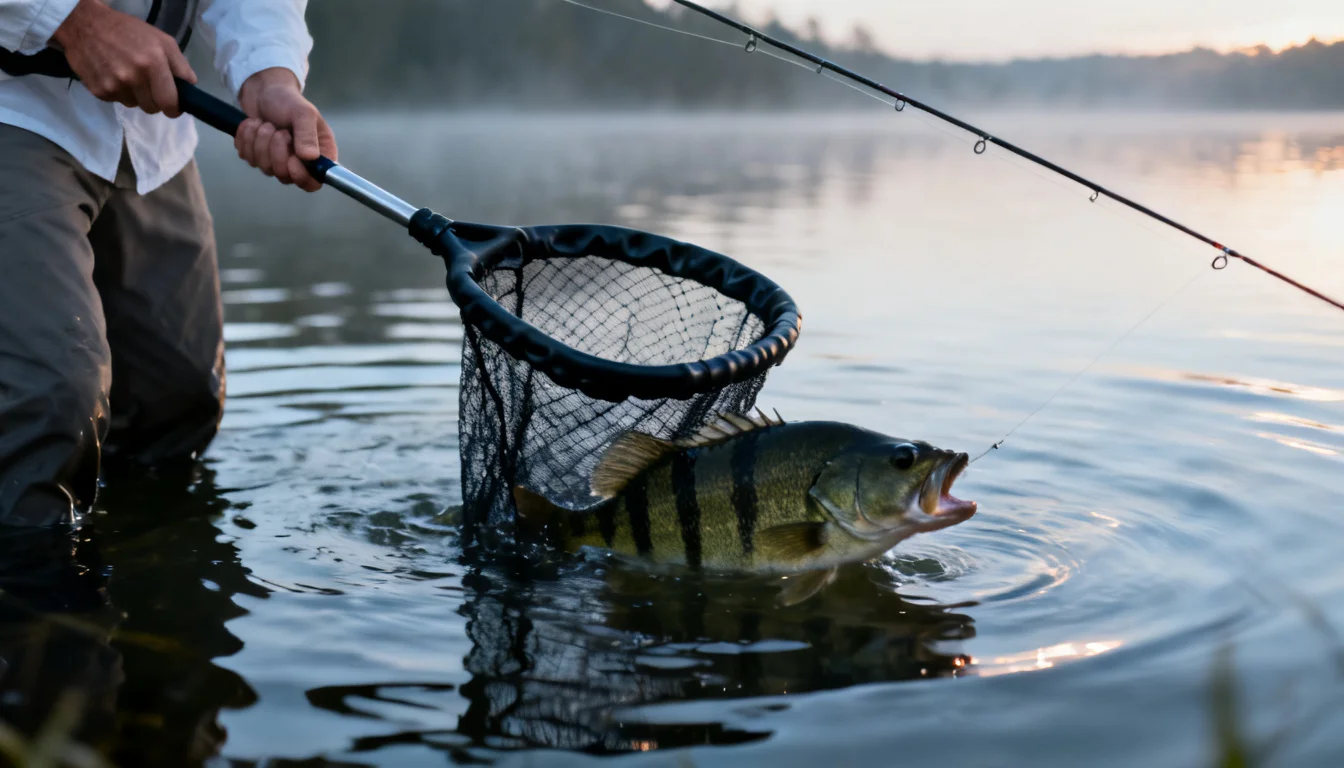
The netting technique matters as much as the net. Slide the net into the water first, angled, and let the exhausted fish swim over it; lifting the net to the fish from above spooks it and scrapes it through the mesh. And never lift a heavy fish by the net handle alone — take the frame in both hands.
How to Revive a Tired Fish
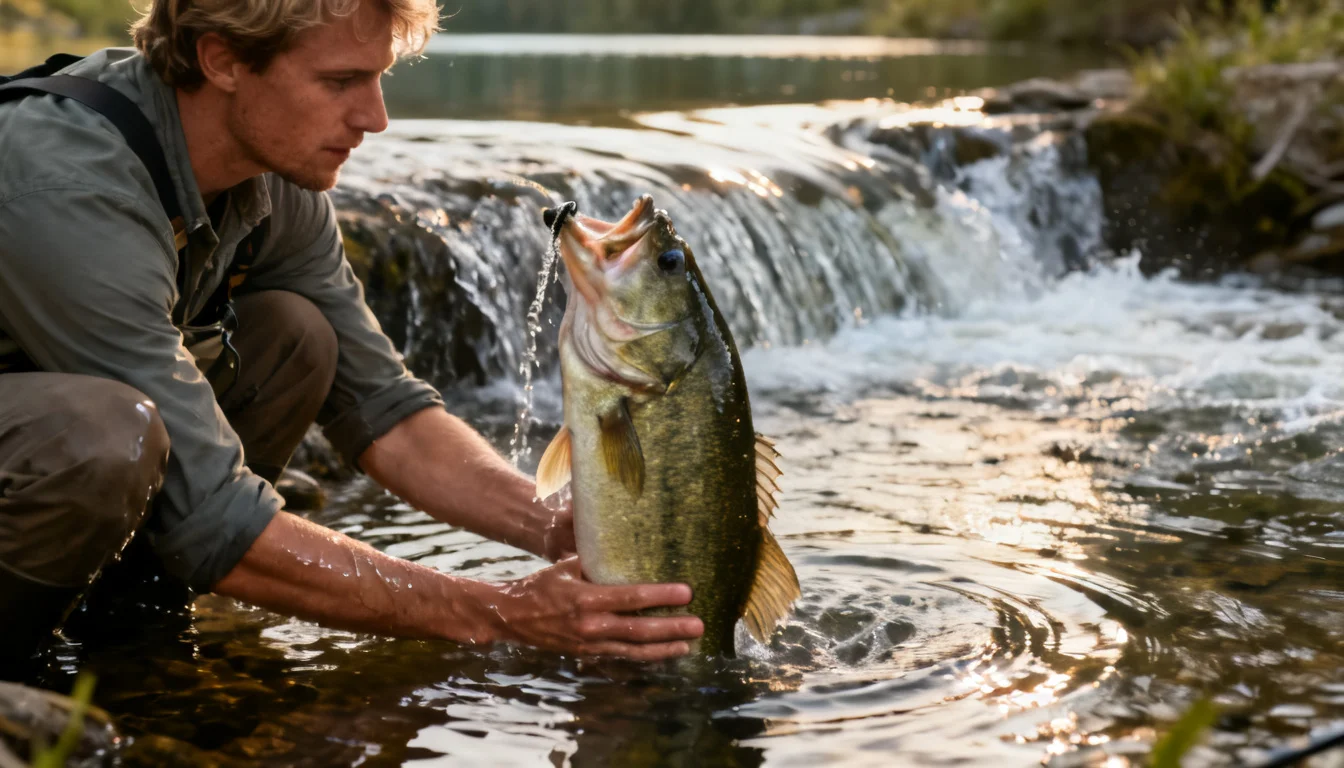
After the fight, the fish needs water moving over its gills to recover. Hold it upright facing into the current and let the flow do the work; in still water, move it gently forward — never backward, and never up and down.
Pumping does not force water over the gills the way people think; it adds air exposure and stress. Keep the motion steady until the fish pulls against your grip, then open your hand and let it go.
Some fish come up from depth with the bends. Barotrauma hits fish hooked from about 30 feet down: the swim bladder expands as the pressure drops, pushing the stomach out of the mouth and the eyes bulging. The fish cannot swim back down, so it floats at the surface, easy prey.
If you fish deep structure in lakes and reservoirs, carry a descending device — a weighted release tool that carries the fish back to depth so the bladder recompresses. It is the difference between a released fish and a floating one, and the reason how to fish a reservoir guides always preach a release plan.
Catch and Release in Hot Water and Cold
Water temperature changes the survival math more than almost anything else you control. Warm water holds less oxygen, and a fighting fish burns through it faster — on a 90-degree afternoon a released bass has a meaningfully lower chance of surviving than the same fish in April, and every second of air exposure is worse.
Adjust: fish early and late, keep fights short, skip the photo, and release the fish in the coolest water you can reach. Our summer fishing tips guide covers the timing side.
Cold water is friendlier, with one rule: never force a fish that is barely moving. A lethargic winter fish may need several quiet minutes of revival, not thirty seconds. Ice fishing brings its own danger — keep the fish in the water as much as possible, because a frozen gill kills before the fish ever hits the ice.
Measuring and Photographing Without Harm
Trophy photos and measurements are the moments when good handling habits collapse, because the fish is suddenly the star of the show. The habits that keep it alive:
- Lay the fish on a wet unhooking mat if it must leave the water, never on a dry deck.
- Measure against the mat’s ruler strip — one quick glance, no posing.
- For the photo, hold the fish horizontally, two wet hands, supporting the belly. Hold it low over the water so a slip is a splash, not a broken fish on the floor.
- Skip the mouth-grip hero shots. A bass dangled by the jaw for a 30-second photo session is a bass whose organs just took a full body-weight stretch.
- Count the air time. Thirty seconds is the ceiling; every second past it taxes the fish.
Weighing is the one measurement worth skipping on a release fish: a scale dangles the full weight from the jaw for a number that is not worth the stress. If you must weigh, put the fish in a wet landing net and subtract the net.
Catch-and-Release Rules You Should Know
Catch and release is not always a choice. Many waters enforce rules that make proper handling a legal requirement:
- Catch-and-release-only waters. Some rivers, lakes, and stretches of stream require every fish to be returned, often to protect spawning runs or declining populations.
- Slot limits. A slot limit lets you keep fish inside a certain size range but requires you to release the rest — the big breeders above the slot are exactly the fish a fishery needs to keep spawning.
- Barbless-hook regulations. Several trout and salmon rivers require barbless hooks, both to ease release and to cut handling time.
- Protected species. Threatened or endangered fish must be released unharmed, and some must not even be removed from the water.
Rules vary state to state and water to water, and they change. Look up the local regulations — our fishing license and regulations guide explains how to read them — before you hook your first fish, not after.
FAQ
Which fish survive catch and release best?
Hardy species handled well — lip-hooked bass, panfish, and catfish — survive at high rates, and most studies find the large majority of well-handled fish come back for another fight. Delicate species like trout have less margin for error, and survival drops with long fights, dry handling, and warm water. Technique matters more than species.
What should I do if a released fish floats belly-up?
It is usually exhausted, barotraumatized, or both. Turn it upright, support it with one hand under the belly, and hold it facing the current or move it slowly forward so water flows over the gills. If it came from deep water and keeps floating no matter how long you revive it, it needs a descending device.
When do I need a descending device?
Whenever you fish deeper than about 30 feet — reservoir points, deep humps, offshore structure. Fish from those depths can suffer barotrauma, where the swim bladder expands and the fish cannot swim back down. A descending device recompresses the bladder and gives it a real chance.
Does water temperature affect catch-and-release survival?
Yes, significantly. Warm water holds less oxygen, so a fish fought in 85-degree water is far more exhausted than the same fight in 55-degree water, and released fish die at higher rates.
Fish early and late in summer, keep fights short, minimize air, and release in the coolest water nearby — many agencies recommend easing off once surface water passes the low 80s.
How do you take a catch-and-release photo safely?
Keep it short and keep it wet. Support the fish horizontally with two hands, hold it low over the water, and take one or two shots in under 30 seconds. Skip the jaw-dangle poses; for a longer session, shoot with the fish still in the water. Solo? Set a timer and use both hands — no one-handed hero poses.
Is catch and release required by law?
On many waters, yes. Catch-and-release-only stretches, slot limits, and protected-species rules can legally require release; barbless-hook rules alone only require barbless hooks, though they exist to ease release. Rules vary state to state — check yours before fishing a new water.
The Bottom Line
Catch and release best practices are not complicated, but they are specific: wet hands, the right grip for the species, the right tool for the hook, a short photo window, and a proper revival. None of it costs much, and all of it determines whether the fish you let go actually lives to be caught again.
Take these handling habits to your next trip. The fish you release today is the trophy someone — maybe you — catches next year.