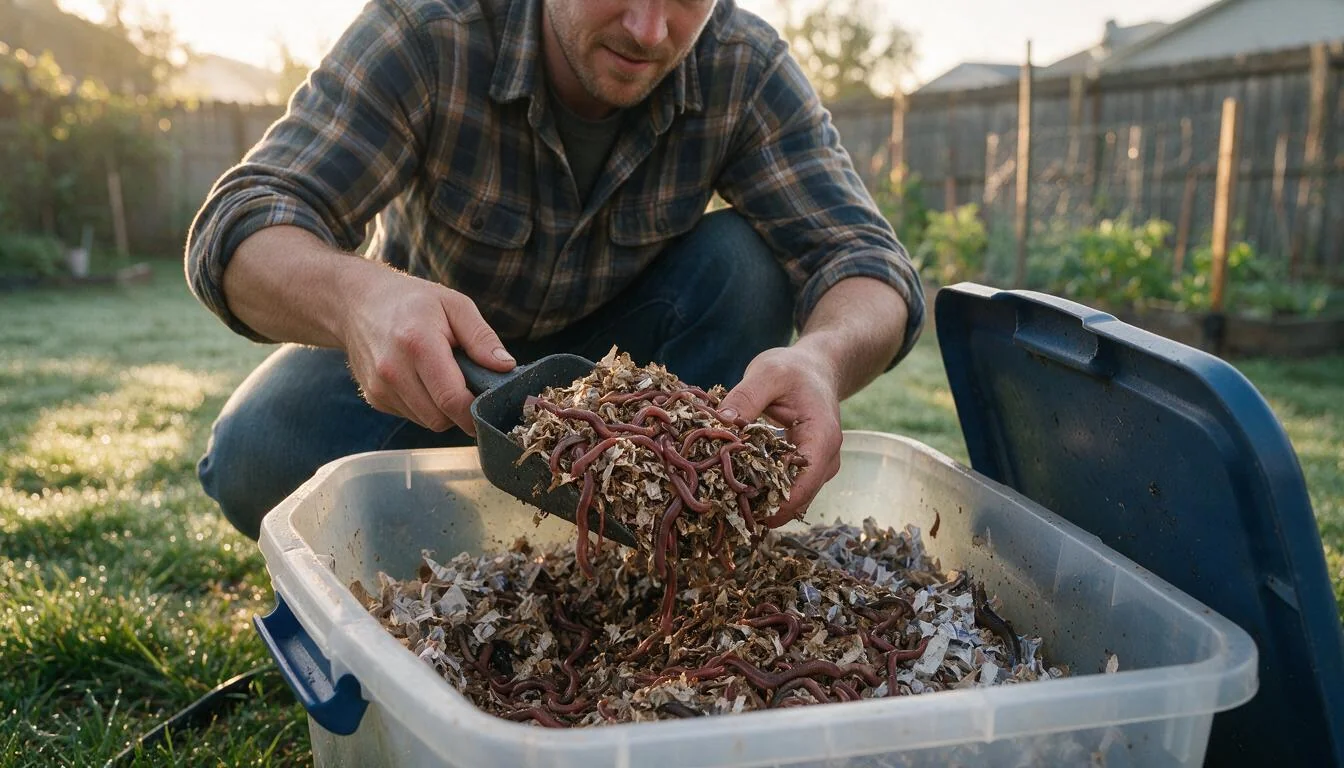
Raising Worms for Fishing: Grow Your Own Live Bait at Home
Raising worms for fishing at home is one of the cheapest ways to keep live bait ready for every trip. A plastic tote, shredded newspaper, and a starter pound of worms can supply you for an entire season.
This guide covers the worm types that work best, how to build a worm farm, and the live bait care that keeps worms lively on the water. New to the sport? Start with our fishing for beginners guide, then come back here for a steady bait supply.
Why Set Up a Worm Farm for Fishing?
A dozen nightcrawlers costs a few dollars at the bait shop, and a pound of breeder worms runs about $25 to $40 shipped. One pound of red wigglers holds roughly 1,000 worms and can double in population every couple of months, so the bin pays for itself fast.
Convenience matters just as much. The best bite often happens at first light, when no bait shop is open. Walk to the garage, scoop a handful of worms, and you are fishing in five minutes.
Fresh bait also catches more fish. A lively worm triggers strikes that a stale one misses, and the same bin doubles as a composter for kitchen scraps. The basics of how to raise worms come down to three things: the right species, a balanced bin, and steady feeding.
Red Wigglers vs Nightcrawlers: Which Fishing Worm to Raise
Not every worm belongs in a bin. The three common bait worms behave very differently, and the right choice depends on the fish you chase.
| Worm | Species | Best targets | Good in a home bin? |
|---|---|---|---|
| Red wiggler | Eisenia fetida | Bluegill, panfish, trout, small bass | Yes — the standard bin worm |
| European nightcrawler | Eisenia hortensis | Bass, catfish, walleye, big panfish | Yes — grows large, tough on the hook |
| Canadian nightcrawler | Lumbricus terrestris | Big catfish, bass, walleye | No — deep burrower, buy them chilled |
Red wigglers are the classic choice for a home bait worm because they tolerate a wide temperature range and reproduce quickly. They stay small and soft-bodied, which makes them ideal for panfish — a red wiggler under a bobber is a classic bluegill setup.
European nightcrawlers grow 4 to 6 inches long, stay on the hook through repeated casts, and still breed fine in a bin. Anglers chasing bigger fish usually prefer them, and they are a top bait for catfish and walleye.
Canadian nightcrawlers are the big bait-shop favorite, but they are deep burrowers that need cool soil and room to tunnel. Skip them for home bins; buy them chilled when you want the largest possible bait.
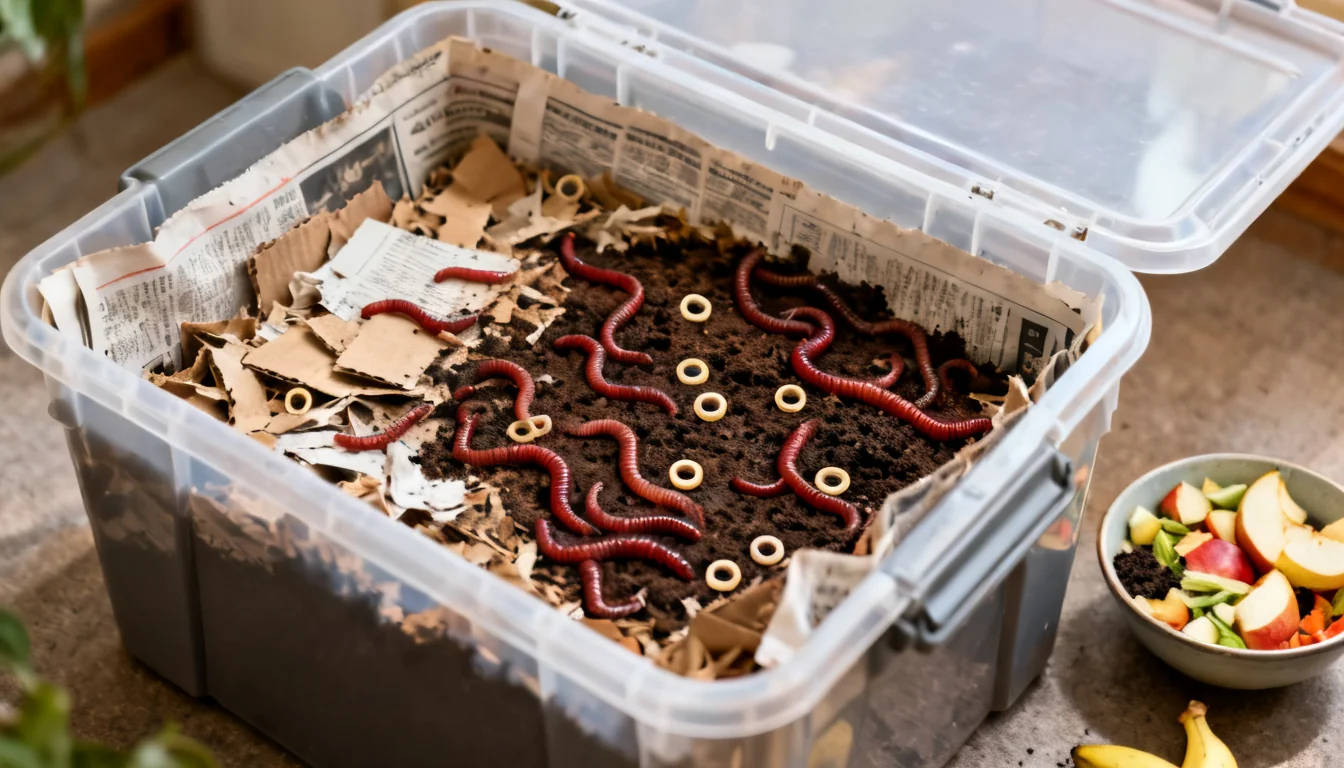
How to Build a Worm Bin for Fishing Bait
Start with a plastic storage tote — 10 to 20 gallons is plenty for a personal supply. Drill small air holes along the upper sides and a few drainage holes in the bottom, then set the tote inside a second bin or on a tray to catch drips.
Shredded newspaper or cardboard makes good bedding, and coconut coir works too. Moisten it until it feels like a wrung-out sponge, about 70 to 80 percent moisture. Add a handful of soil and some crushed eggshells, because worms need grit to digest food.
Add roughly one pound of worms, about 1,000 red wigglers, per square foot of bin surface, then close the lid. Keep the bin between 55 and 77°F and out of direct sunlight — a garage, under-sink cabinet, or shaded porch corner works well.
Leave a light on above the bin for the first night so the worms burrow down instead of crawling out, and let the colony settle for two or three days before the first feeding.
Feeding Your Worms the Right Way
Worms eat fruit and vegetable scraps, coffee grounds, tea bags, and crushed eggshells. Chop scraps small so they break down faster, and skip meat, dairy, oily food, citrus, onion, and garlic — those turn a clean bin sour and attract pests.
Feed sparingly at first: a quarter to half a pound of scraps per pound of worms per week. Once the colony is established, red wigglers can process up to half their body weight daily. Bury each meal an inch or two under the bedding and rotate feeding spots.
Read the bin and adjust. Food disappearing within a few days means the amount is right. A sour or ammonia smell means overfeeding, so add dry bedding. Wet, soupy bedding means too much moisture — fluff it and feed less. Once you understand how to raise worms this way, the bin mostly runs itself.
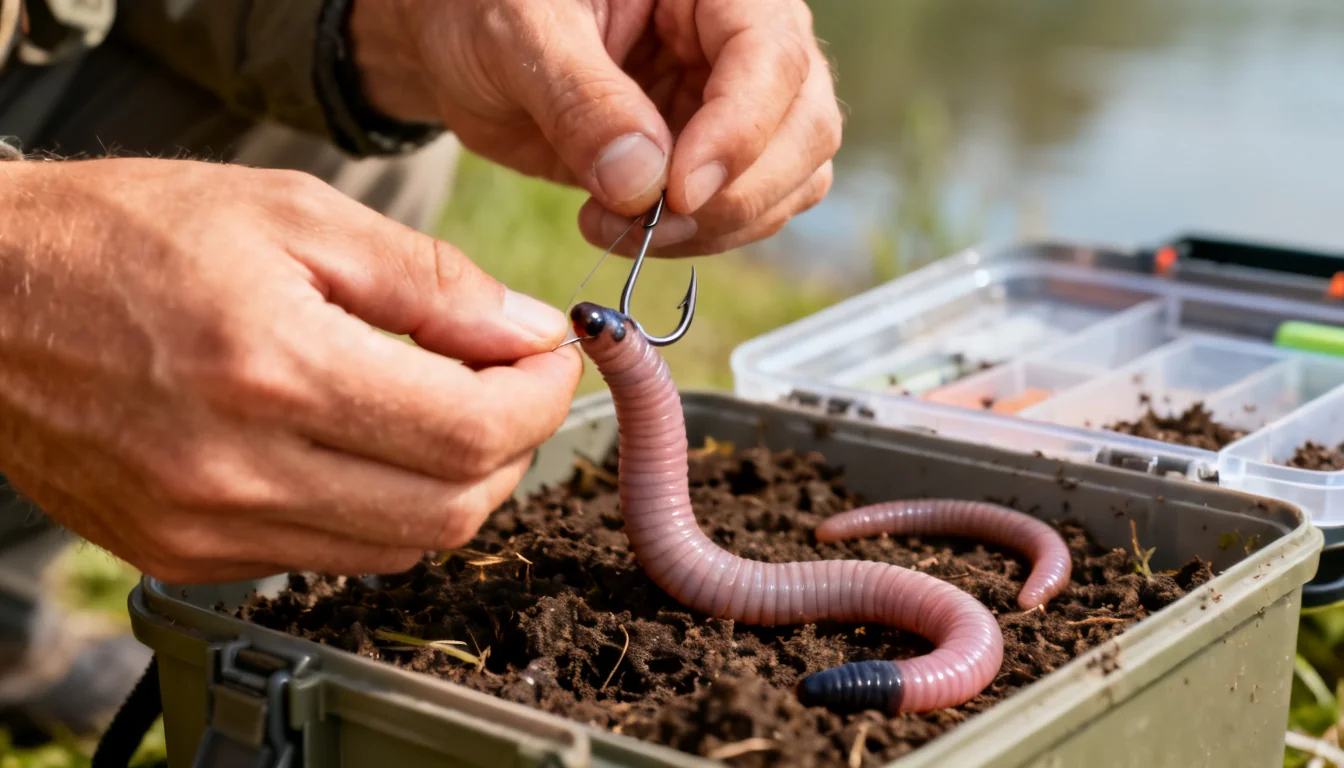
Harvesting Worms and Hooking Them Right
Harvest only what you need for the trip and leave the breeders behind. The easiest method is dump-and-sort: empty the bin onto a tarp under a bright light, wait a few minutes, and scrape off the top layer — worms flee the light and cluster at the bottom.
Another trick is side migration. Feed only one side of the bin for a couple of weeks, then harvest the other side, where the worms have moved away.
To hook a worm, thread the point once through the collar just behind the head. The tail keeps wiggling, and that motion triggers strikes. Whole worms suit catfish and walleye, while a half or a third works for panfish. Hook sizes and sharpening tips live in our fishing hooks guide.
Under a float, a hooked worm suspends at the depth you set — see how to set up a float for the full rig.
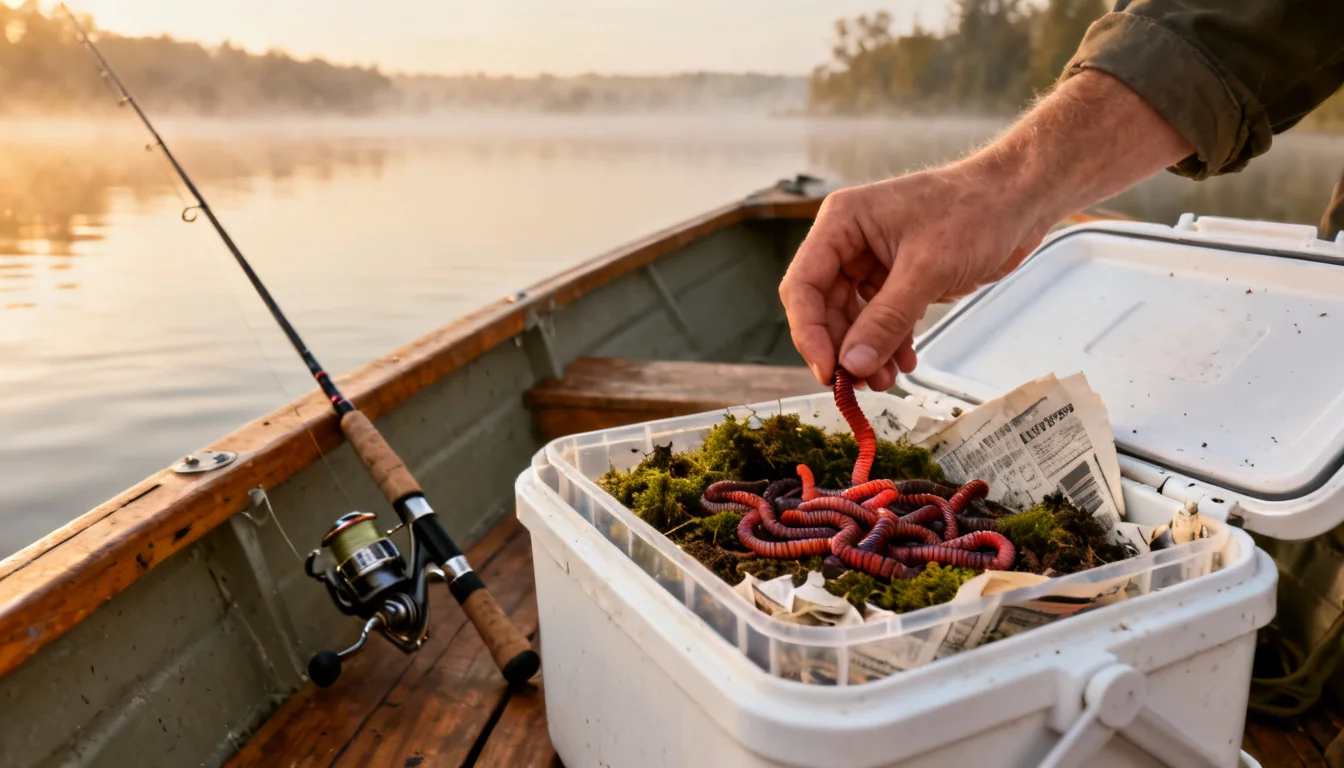
Live Bait Care: Keeping Worms Fresh on the Water
Live bait care starts before you leave the house. Carry worms in the bin bedding, or damp newspaper, inside a small cooler. A 40 to 50°F box slows them down without killing them, and a sluggish worm stays livelier on the hook than a hot one.
Never store worms in water; they breathe through their skin and drown. Keep the cooler shaded, and never leave bait in a closed car on a summer day. Red wigglers tolerate heat better than nightcrawlers, but all of them die fast in direct sun.
At the end of the day, put unused worms back in the bin. Do not toss leftover bait into the woods or water: earthworms are non-native across much of North America, and dumping bait is illegal in Minnesota and Wisconsin. Leftovers belong in the bin or the trash.
Common Mistakes When Raising Fishing Worms
Most beginner failures trace to six habits. Overfeeding is the biggest, because it creates heat, smell, and fruit flies. Too much water drowns worms and turns the bedding anaerobic. Direct sun or a hot garage can cook the colony in an afternoon.
Feeding meat, dairy, or citrus invites pests. Harvesting every worm leaves no breeders for the next generation. And storing bait in a hot car or a jar of water kills it before the first cast. These are easy to avoid once you know them, just like the errors in our beginner fishing mistakes guide.
FAQ
Is raising worms for fishing worth the effort?
Yes, for anyone who fishes with bait more than a few times a year. One pound of red wigglers can supply a full season of panfish trips, and the bin also composts kitchen scraps. The setup costs less than two bait-shop runs, and the colony keeps replacing itself.
How long does it take to raise worms for fishing?
You can fish with your starter worms the day they arrive. Breeding takes longer: red wigglers mature in about 90 days, cocoons hatch in about three weeks, and a healthy colony can double every 60 to 90 days.
Can you raise nightcrawlers in a worm bin?
European nightcrawlers do well in bins and grow to 4 to 6 inches long. Canadian nightcrawlers do not — they are deep burrowers that need cool, loose soil and do poorly in confined bedding. Raise European nightcrawlers or red wigglers, and buy Canadian nightcrawlers chilled when you need maximum size.
How many worms do you need to start a worm farm?
About one pound, roughly 1,000 red wigglers, is a fine starting point for a standard 10- to 20-gallon tote. Scale toward 1 pound per square foot of surface as the colony grows. You can start with fewer, but the colony takes longer to reach harvest size. Avoid overcrowding, which slows reproduction and stresses the worms.
Do worm bins smell?
No — a healthy bin smells like damp earth. If it smells sour, ammonia-like, or rotten, the balance is off, usually from overfeeding, too much moisture, or meat in the diet. Cut back feeding, add dry bedding, and the odor clears within days.
How do you keep fishing worms alive overnight?
Put them in a container with damp bedding, the same material from the bin, and hold them at 40 to 50°F in a cooler with an ice pack or in a refrigerator. Never store worms in water and never let them freeze. Check the bedding each morning and remoisten if it feels dry.
The Bottom Line
Raising worms for fishing is a weekend project that pays off all season: cheaper bait, fresher bait, and no 5 a.m. bait-shop runs. Start with red wigglers, add European nightcrawlers for bigger fish, and keep the bin cool, moist, and lightly fed.